


Wrong.
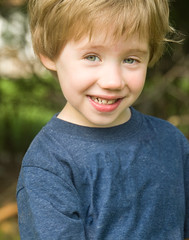
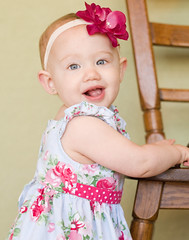
You will hire a photographer* or go to the studio and one or more of your punk kids will decide that even though they've seen their front porch ten thousand times, today, right here and right now, during this very expensive photo session, that they MUST peer at it broodingly. And another is just going to have to glare at you, sorry Ima, there is no other option.
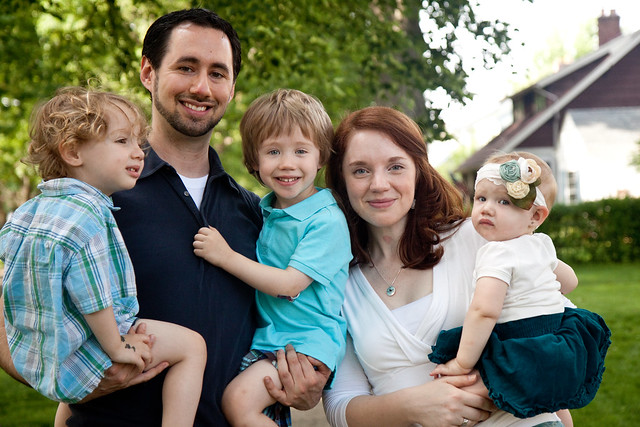
I'm sorry, Ima, I absolutely cannot look into the camera right now. You see, doing so would kill me. You don't want me dead, do you? (Well, Rami, after this, maybe I do.)
Ahem. Let's get started.
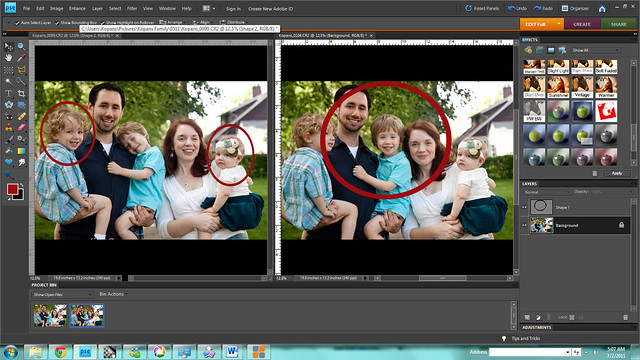
Find two photos that you like elements of (I've been known to do it with three or even four photos, this is just the intro.)
(Does it ever disturb you to see how weird you look when you laugh? Ugh.)
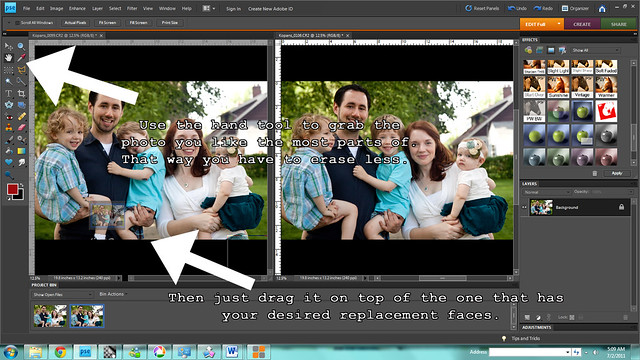
Figure out which photo has MORE THINGS you like, and use the "move" tool (it looks like a hand) in the upper left corner to drag it on top of the photo that has the smiles you're going to plaster on the punk kids' faces. The replacement smiles go on the bottom, because you're going to erase the scowls away.
(Is this making sense? I really hope it is.)
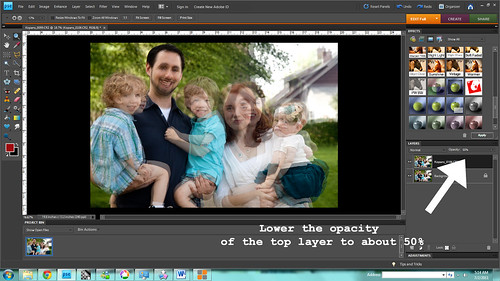
Go over to the layers panel in the bottom right hand corner, and lower the opacity of the top layer to about 50%.
Now, you're going to need to do some alignment work. Decide on the first head you're going to erase, and then figure out what is closest to it/running into it. Then use the move tool (the arrow with the cross of arrows next to it, the very top left in the tools menu on the lefthand side of your screen) to line up the two layers so that those overlap. You may need to blow up or shrink the top layer and rotate it to achieve this.
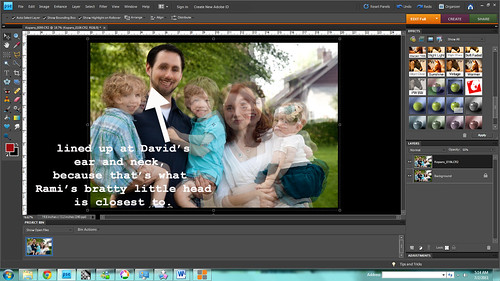
(You can see that I had to enlarge the top layer a bit.)
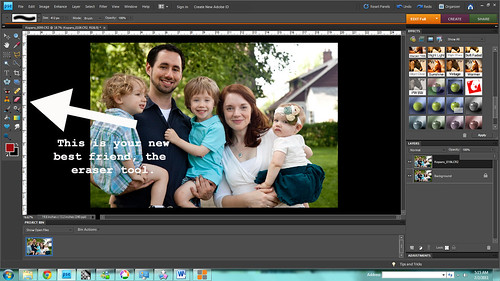
Okay, stay with me. We're almost ready to erase, and it's SO satisfying. Bring that top layer back to 100%.

Choose the eraser tool and start erasing.
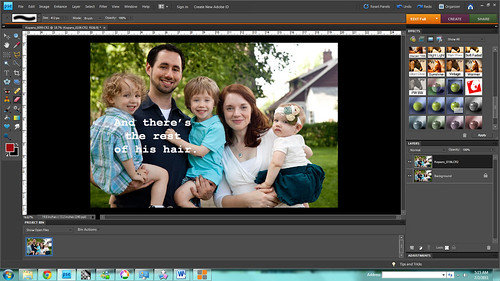
Easy does it.

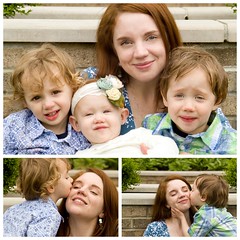
Only erase enough to make the image look seamless. In this one, it was only Rami's head and hair - I could keep his shoulders the same. If you erase too much in one pass, you could end up giving someone else two heads or something.
I also ended up replacing Nesi's scowl with a slightly less scowly face.
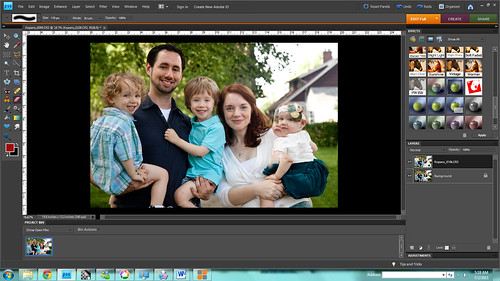
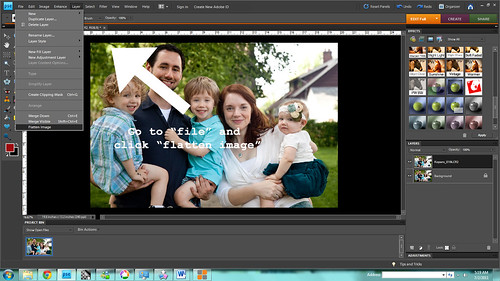
Okay. Are you happy? Save your picture as a PDF (in case you see you've made a mistake.) Then, so you can print this picture and all your neighbors and loved ones will think your kids are perfect, go on up to the "Layer" menu and click "Flatten Image."
You're done! Congratulations! You got what you wanted, even if you did have to artificially manipulate it yourself. Print that sucker on canvas and call it a job well done.
*We are so, so lucky to have a friend who is also an incredible photographer who did these images for us gratis. Thanks Amy, we love you! Check her out at Amy Ann Photography.
** I'm using Photoshop Elements 8, but any software with photo layering capabilities should do the trick. I think Gimp has it, and it's a free download. Google it.


This is sooo great! Thanks for sharing. :) Can't wait to try.
ReplyDeletekuşadası
ReplyDeletemilas
çeşme
bağcılar
ısparta
EUPG